
Reconfiguring Email Clients After 138 Enterprise Email Migration: Troubleshooting & Maintenance Guide
When Client Reconfiguration Becomes Necessary
After migrating your organization's email to 138 Enterprise Email, existing desktop, mobile, or business system clients will continue pointing to the old provider until updated. Without reconfiguration, users may experience sending failures, missing incoming mail, or synchronization errors across devices. This guide focuses on the practical steps to update third-party clients such as Outlook, Foxmail, and native mobile mail apps, aligned with 138's officially direct-operated migration and support framework.
Step-by-Step Client Reconfiguration Path
1. Confirm Account Mapping and Credentials
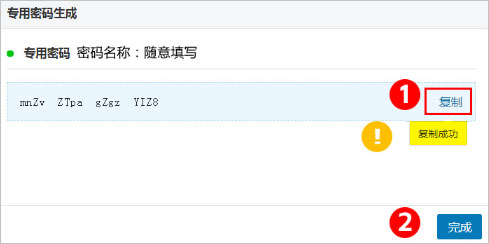
Before updating any client, verify that each user account has been successfully created in the 138 system and that login credentials are active. Use the full email address as the username. If your organization uses app-specific passwords or secondary verification for third-party clients, generate or retrieve these credentials from the 138 admin portal before proceeding.
2. Update Server Settings in Each Client
Replace the old provider's server details with 138's standard protocol endpoints. Ensure the following fields are correctly entered:
- Incoming/Outgoing server addresses
- as provided in your 138 activation documentation
- Username: full email address (e.g., user@yourdomain.com)
- Authentication: SMTP authentication must be enabled
- Encryption: SSL/TLS as required by 138's published configuration
- Ports: use the secure ports specified for IMAP/POP3 and SMTP
3. Validate Multi-Device Synchronization
138 Enterprise Email supports simultaneous access via webmail, the 138 mobile app, the 138 PC client, and third-party standard protocol clients. After updating one client, test sending and receiving on at least two additional endpoints (e.g., web and mobile) to confirm that folders, read status, and sent items are synchronizing correctly.
4. Check Sender Authentication Records
If your migration included DNS updates, verify that SPF, DKIM, and DMARC records are propagating correctly. Misconfigured authentication can cause outgoing mail to be rejected or marked as spam by recipient servers. Use the 138 admin console or public DNS lookup tools to confirm record status before notifying users that migration is complete.
Common Post-Migration Exceptions and Checks
- Cannot send mail: Confirm SMTP authentication is enabled, the correct secure port is used, and the account is not restricted by admin policies.
- Incoming mail delayed or missing: Verify IMAP/POP3 server addresses, check folder synchronization settings, and ensure MX records have fully propagated.
- Mobile app login failures: Ensure the full email address is used, app-specific passwords are applied if required, and the device's date/time settings are accurate.
- Business system or ERP email errors: Update the sending credentials in the application configuration and test with a controlled internal recipient before enabling external communication.
Service Boundaries and Official Support
138 Enterprise Email migration support is officially direct-operated, with no third-party agents involved. The scope of client reconfiguration assistance, historical data migration, and DNS transition planning depends on the confirmed service plan and the capabilities of the previous email system. Actual migration boundaries, data retention, and client compatibility should be verified against your activation documentation and the official service portal.
If your team encounters persistent authentication errors, synchronization gaps, or unclear server parameters after following the steps above, access the official 138 service portal for activation, configuration, and daily operations support. For complex migrations involving multiple domains, legacy systems, or compliance requirements, request a structured review from the 138 direct-operated team to align client updates with your organization's verification and rollback plan.
Next Steps
- Distribute this checklist to IT administrators and department leads.
- Update one pilot account and validate across web, mobile, and desktop clients.
- Roll out client updates in batches, monitoring sending/receiving logs and user feedback.
- Use the official 138 service portal to submit configuration tickets or request migration verification support.
For detailed server parameters, account provisioning, or multi-domain migration planning, contact the 138 Enterprise Email official support team through the website service portal. All configuration guidance and migration boundaries are subject to your activated service plan and the official documentation provided during onboarding.
Recommended

Cross-border E-commerce GUORLAN Chooses 138 Enterprise Email
Cross-border e-commerce company GUORLAN migrated from its legacy email system to 138 Ent...

Lac Hao Electronics Vietnam Enterprise Email Case Study
Lac Hao Electronics Vietnam is an electronics company exporting products to North Americ...

GuoX Law Firm Chooses 138 Enterprise Email
As a leading full-service law firm specializing in intellectual property, GuoX Law Firm...